Ever wondered, how long does microblading take? Microblading is the beauty industry’s magic wand for creating flawless brows. In this guide, we’re diving deep into every detail of the procedure—timelines, aftercare, and everything in between—so you know exactly what to expect.
What is Microblading Procedure?
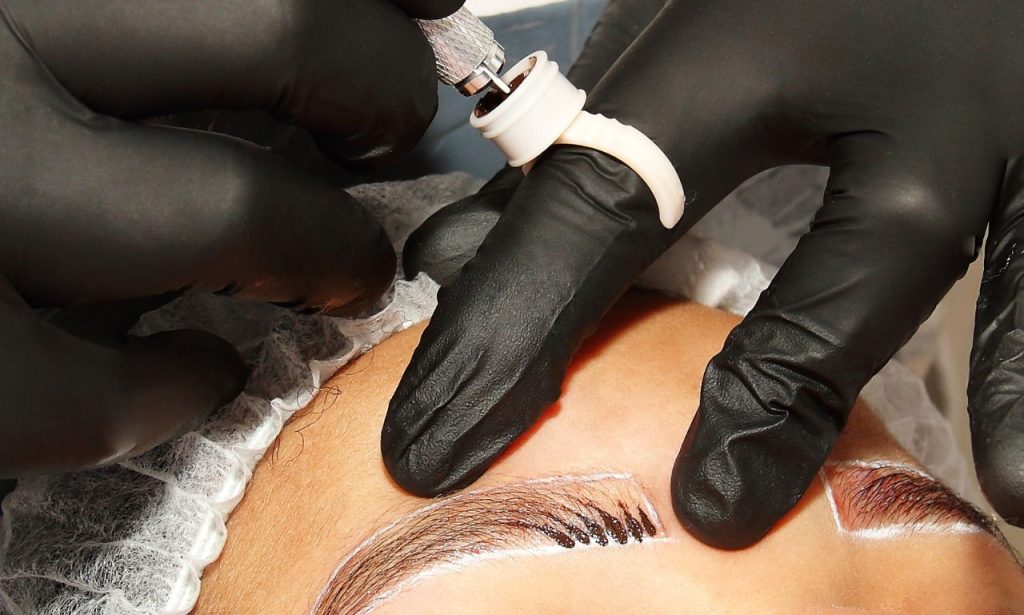
Microblading is a semi-permanent makeup technique that creates natural-looking eyebrow hair by using a handheld tool with ultra-fine needles to deposit pigment into the skin. Unlike traditional tattoos, it’s not as deep and provides a more natural effect. The aim? Flawless, full brows that look beautifully shaped without any daily makeup fuss.
The actual procedure involves:
- Brow Mapping: Defining the perfect shape and ensuring it’s symmetrical to your facial structure.
- Pigment Color Selection: Choosing a pigment shade that matches your natural eyebrow hair and skin type.
- Microblading Process: Carefully drawing hair-like strokes to enhance your brow appearance.
This transformative technique has gained popularity because it embraces each person’s natural beauty while providing beautifully enhanced brows that can last for up to 1-3 years.
Microblading has become an increasingly popular choice for individuals seeking low-maintenance, perfectly shaped brows. Whether you have sparse eyebrows, over-plucked brows, or simply want to enhance your natural shape, microblading offers a long-lasting solution that looks natural and stunning. It’s a form of cosmetic tattooing that provides a semi-permanent enhancement that blends seamlessly with your natural brow hairs.
Wondering how long does microblading take? Unlike traditional tattoos, microblading uses pigments rather than ink, which means that the color fades naturally over time. This allows for adjustments as your facial structure and style preferences change. The technique relies on small, handheld blades to create very fine, hair-like strokes, mimicking the appearance of natural eyebrow hairs. This process is ideal for anyone wanting a more defined, fuller brow that appears effortlessly natural.
The goal of microblading is to provide brows that match the shape, color, and fullness that a client desires, making it a truly customized beauty experience. While the results of microblading are impressive, it’s important to understand the steps involved and what you can expect during the entire process, including time requirements.
Initial Session Duration
Numbing Process Timeline
The initial microblading session starts with the application of a numbing cream. This is crucial for reducing discomfort during the procedure. Many clients fear that microblading might be painful, but the numbing cream works well in minimizing any potential pain. The numbing cream is typically a topical anesthetic, and it’s an essential part of making sure the procedure goes smoothly without unnecessary discomfort.
- Topical Anesthetic Application: The numbing cream is applied to the brows and left for about 20-30 minutes. The cream must have enough time to take effect and fully numb the area before moving forward.
- Client Comfort Check: The brow artist will check your comfort level to ensure that the area is completely numb before beginning the next stage.
Depending on your skin type, you might feel just a slight tingling. While the numbing cream works its magic, you can relax, scroll through your phone, or visualize your new dream brows. Different people respond to numbing creams in different ways. For some, the area may become fully numb, while for others, there may still be some slight sensitivity. However, the goal is always to make you as comfortable as possible during the procedure.
The numbing process is one of the key reasons why the initial session can take a bit of time. While it may feel like the procedure itself is taking longer, this waiting period ensures that you’ll experience minimal discomfort throughout the rest of the session. The numbing cream penetrates the skin, reaching a depth that effectively reduces the pain while still allowing the skin to receive the pigment properly.
How Long Does Microblading Take?
Once numbing is complete, the actual microblading process begins. So how long does microblading take? Typically, the entire microblading session takes around 2-3 hours, depending on individual factors like brow complexity, desired shape, skin condition, and how well the client tolerates the process.
Brow Mapping and Design
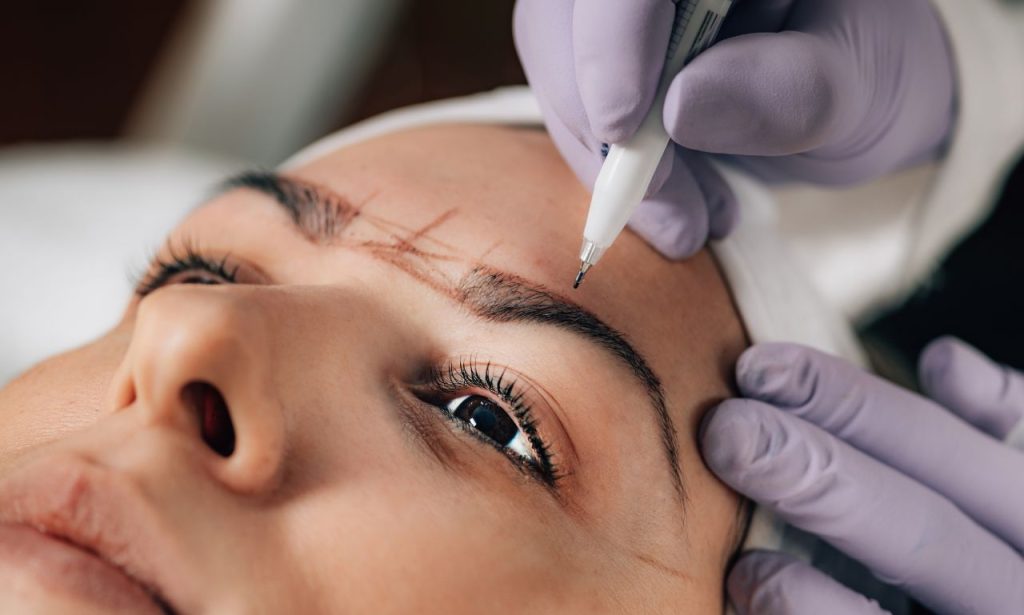
- Initial Consultation: The artist will measure and map out your brow shape according to your facial features and brow goals. This process can take 15-20 minutes. The brow mapping is one of the most crucial steps in ensuring that the brows fit the client’s natural facial structure and appearance. This personalized approach ensures that the microblading results look as natural as possible, blending with your facial features seamlessly.
- Client Approval: You get to approve your new brow shape before the first stroke. This ensures the result matches your expectations. Brow mapping involves using a specialized tool to create symmetrical brows that suit the shape of your face. The brow artist uses reference points on your face to draw the outline, ensuring everything looks balanced.
- Brow Goals Discussion: During the initial consultation, you will discuss the desired brow color, thickness, and overall style with your technician. The pigment color selection is a crucial step in ensuring that the finished brows match your natural hair color and skin undertones.
Microblading Process
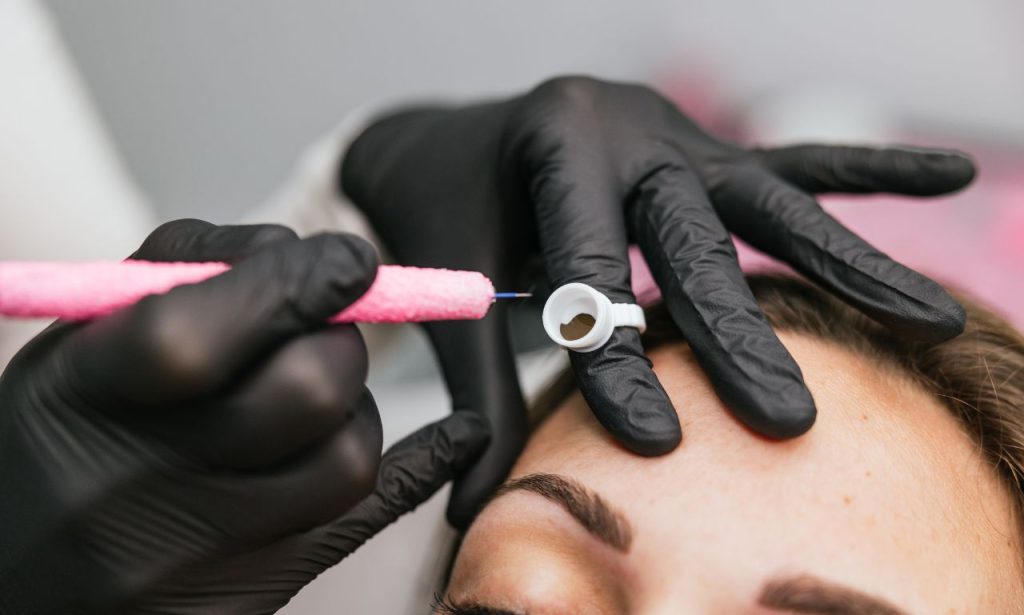
- First Pass of Strokes: Using a handheld tool, the artist deposits pigment color by creating hair-like strokes. This phase usually takes around 45-60 minutes. These strokes mimic natural eyebrow hairs, and the artist carefully places each stroke to follow the natural direction of your existing brow hair.
- Multiple Passes: A second or even third pass may be done to achieve your desired density and color depth. During this phase, the artist might apply a secondary numbing agent to maintain comfort. The microblading artist continues adding strokes to build up the fullness of the brow.
- Touch-Up and Fine-Tuning: Fine-tuning your brows to perfection could take an additional 15-30 minutes. The artist will ensure that the brows are balanced, symmetrical, and meet your desired level of boldness or subtlety.
Overall, the initial microblading appointment can take between 60-90 minutes for the microblading itself, plus extra time for consultation, numbing, and preparation. When considering the entire microblading journey, from initial consultation to the completion of the final strokes, it becomes clear that there is a commitment involved. This isn’t a quick in-and-out procedure; it’s a thorough process that results in long-lasting beauty.
Many clients find that the time spent on the initial appointment is well worth it, given the years of benefit that follow. The immediate result is a beautiful brow that gives an enhanced look, and the convenience of having effortless brows every day makes it all the more rewarding. From the preparation phase to the final outcome, the microblading session is a collaborative experience between the artist and client, ensuring every detail is precisely executed.
Touch-Up Session Duration
Most clients need a follow-up microblading touch-up appointment to achieve optimal results but always wonder how long does microblading take?. This session is typically scheduled 4-8 weeks after the initial microblading procedure.
- Touch-Up Application: The touch-up microblading session typically lasts around 60 minutes. The artist will add additional strokes and correct any areas where pigment may have faded. This session is an essential part of the microblading process, as it gives the brow artist the opportunity to assess how well the pigment has settled and make necessary adjustments.
- Final Shading: Any necessary shading adjustments are done to create a cohesive look. The touch-up appointment is important for fine-tuning the brows, ensuring they have the right color depth and fill any gaps that may have emerged during the healing process.
The touch-up session is not just about adding more pigment but also ensuring that the brows have healed evenly. Sometimes, the initial pigment may not have taken as expected in some spots, resulting in unevenness. The touch-up session addresses these issues and perfects the final result. For most people, the touch-up session is simpler and quicker compared to the initial appointment, as the basic shape and strokes have already been established. It’s more about refining the work and ensuring the pigment retention is consistent.
Factors Influencing Procedure Time
Several factors can affect how long your entire microblading process takes. Here’s a closer look:
Technician’s Expertise
An experienced brow artist is skilled at efficiently mapping and applying hair strokes to achieve natural beauty. Working with a less-experienced technician may increase the session duration.
- Experienced Professionals: Highly skilled microblading artists who have perfected their techniques can complete the process more efficiently without compromising quality.
- Brow Complexity: More complex brow designs, such as intricate or very full brows, may require extra time, even for experienced professionals.
Client’s Brow Condition
- Sparse or Patchy Brows: Sparse natural eyebrow hair takes more time since the artist needs to build the illusion of fullness from scratch.
- Existing Tattoos: If you’ve had previous cosmetic brow tattooing, the artist may need additional time to color-correct or redesign the brows.
- Combination Skin: Different skin types react differently to the pigment. Oily skin, for instance, may cause the pigment to fade more quickly, which may require more time to achieve the desired depth.
Desired Brow Design
The style and density you want also affect how long the process takes.
- Intricate Designs: More intricate brows require extra strokes and a bit of time for detailing. The artist must carefully create additional layers of strokes to achieve the depth and complexity you want.
- Brow Thickness: Thicker, fuller brows take longer to complete compared to a light, natural brow. The amount of shading and the number of strokes needed are much greater for dense brows.
- Brow Symmetry: Creating perfect symmetry can also increase the duration of the session. The brow technician will work meticulously to ensure that both brows match each other.
Post-Procedure Recovery Time
Once you’ve completed the actual procedure, the healing journey begins. Recovery after microblading is just as important as the appointment itself to ensure your brows heal beautifully.
Stages of Swelling
- Day 1-2: Slight swelling and mild bleeding may be present immediately after the procedure. This is a normal part of the healing process, and there’s no need to be alarmed.
- Day 3-7: Scabbing begins. Avoid picking at the scabs to prevent pigment loss. During this stage, the brows may look darker than anticipated due to the scabbing.
- Day 7-14: The scabs start falling off, revealing the new brow underneath. You may experience some patchiness or uneven coloring, but this will improve over time.
The entire eyebrow healing process can take 4-6 weeks, depending on how well your skin heals and how you adhere to aftercare instructions. During the healing journey, it’s crucial to avoid any activities that could interfere with the healing process, such as direct sun exposure, swimming, or using certain skincare products.
The healing process after microblading can feel like an emotional rollercoaster. Initially, the brows may appear very dark, and clients often worry they look too bold. However, the color will gradually lighten as the brows heal. The scabbing stage may also make the brows appear uneven, but this is part of the natural healing progression.
The healing stages involve the body working to recover from the procedure and seal the pigment into the skin. Your individual skin type, including whether you have dry or oily skin, plays a role in determining how the pigment will set. Some clients experience slight swelling, while others may not have much swelling at all.
Importance of Aftercare
Proper aftercare is essential for achieving beautiful, long-lasting brows. Aftercare instructions play a vital role in optimizing pigment retention and ensuring the healing process goes smoothly.
Recommended Aftercare Practices
- Avoid Excessive Sweating: Keep away from excessive sweating or any activities that lead to sweating for the first 7-10 days. Excessive sweating can interfere with the healing process and cause the pigment to fade prematurely.
- Limit Sun Exposure: Protect your brows from sunlight to prevent premature fading. Sun exposure can cause pigment loss and affect the healing process.
- No Contact with Water: Avoid getting your brows wet—this includes avoiding swimming pools, saunas, or even exposing your face to boiling water. Exposure to water can prevent the pigment from settling properly.
- Use Recommended Aftercare Oil: Your artist will recommend a care balm or ointment to keep the area moisturized and aid in optimal healing. Keeping the area moisturized is key to preventing the scabs from becoming too dry and falling off prematurely.
- Hands Off!: Refrain from touching or scratching your brows. Touching can introduce bacteria to the healing area, increasing the risk of infection.
Impact of Aftercare on Longevity
- Pigment Retention: Proper care ensures better pigment retention and prevents the need for an early touch-up session. Following the aftercare guidelines allows the pigment to penetrate the skin deeply and set correctly.
- Reduced Healing Complications: Sticking to aftercare guidelines will help avoid complications like infection, scarring, or pigment color shifting. Proper care during the healing period will also ensure your brows heal smoothly without patchy areas or pigment loss.
- Commitment to Aftercare: The importance of aftercare cannot be overstated. Your commitment to adhering to the aftercare instructions will determine the final outcome of your brows. If you put in the effort to properly care for your brows, they will reward you with longevity and a flawless finish.
Aftercare plays a crucial role in not only how your brows heal but also how long they will last. By avoiding activities that could interfere with healing, such as sweating or exposing the brows to chemicals in skincare products, you can protect the investment you’ve made in your appearance. Many microblading artists provide detailed aftercare instructions that must be followed strictly to achieve optimal results.
Ready for beautiful, effortless brows that save you time every morning? Book your microblading appointment today and start your journey to flawless brows!
ALSO READ: How to Keep Insects Away from Home Naturally
FAQs
The healing process generally takes 4-6 weeks, with various stages including scabbing, peeling, and final pigment settling.
Most clients report only mild discomfort thanks to the numbing cream applied beforehand. It’s often described as a light scratching sensation.
Avoid vigorous exercise or excessive sweating for at least 7-10 days post-procedure, as sweat can interfere with pigment retention.
Most people need a touch-up every 12-18 months to keep their brows looking fresh and vibrant.


